Introduction
If you’re preparing for a job in a dental office, you need to learn Dentrix—because more than 35,000 dental practices rely on Dentrix® practice management software.
Dentrix Learning Edition is a limited, trial version of Dentrix. Using the Dentrix Learning Edition, you can learn about common dental office tasks, like scheduling and billing, and become familiar with essential Dentrix modules, like the Appointment Book and the Ledger.
This installation guide will help you install Dentrix Learning Edition.
Before Installing Dentrix Learning Edition
Before installing and using Dentrix Learning Edition, you should be familiar with using the computer. This installation guide and the Dentrix Learning Edition Help files are written with the assumption that you are familiar with using a PC and Microsoft Windows.
If you are inexperienced at downloading and installing software, ask a friend to help you.
Microsoft Windows must be installed before you can install Dentrix Learning Edition. Your computer must meet the workstation requirements outlined in the Dentrix System Requirements.
For information about installing and using Windows, refer to the Windows documentation.
How To Get Help
You can find answers to many questions about Dentrix Learning Edition in Dentrix Help, which you can access from the Help menu in Dentrix Learning Edition.
You can also study the Dentrix Learning Edition online lessons—an ideal learning solution for motivated, independent learners.
Tips for a Successful Installation
For a successful installation, read the following information before installing Dentrix Learning Edition.
Meet the System Requirements: Make sure your computer meets the current system requirements before you upgrade to or install Dentrix Learning Edition. Your computer must meet the workstation requirements outlined in the Dentrix System Requirements.
Check Available Disk Space: Right-click the Start icon on the Windows task bar and click Settings. In the Device Specifications section, look at the Installed RAM line to see the installed and usable disk space. Refer to the the workstation requirements outlined in the Dentrix System Requirements.
Follow the Installation Instructions: Make sure you follow all of the step-by-step instructions in this guide as you install Dentrix Learning Edition.
Finish the Installation Completely: Do not interrupt the installation process, even if it appears as though nothing is happening. You will be prompted when the installation is ready to continue. Terminating an installation prior to completion could prevent the software from working properly.
Installing Dentrix Learning Edition
Read the tips for a successful installation before beginning the installation. If you have already registered for Dentrix Learning Edition, skip to step 3.
Downloading Dentrix Learning Edition
1. If you have not already registered, open an Internet browser (like Google Chrome or Microsoft Edge) and go to learningedition.dentrix.com. Then click Register Now and complete the registration form.
2. Complete the registration form and click Register.
3. After you register, log in to the page at learningedition.dentrix.com.
4. Click Download to begin downloading Dentrix Learning Edition. The download will begin as soon as you click the button. Follow the installation instructions as you go. If you are inexperienced at downloading and installing software, ask a friend to help you.
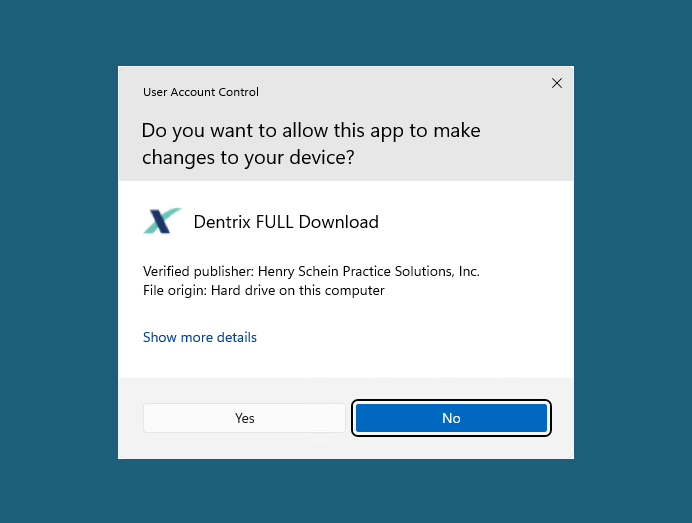
5. When the download is finished, click the download file to start the installation.
If you see a Windows User Account Control security warning, click Yes to allow the app to make changes to your device.
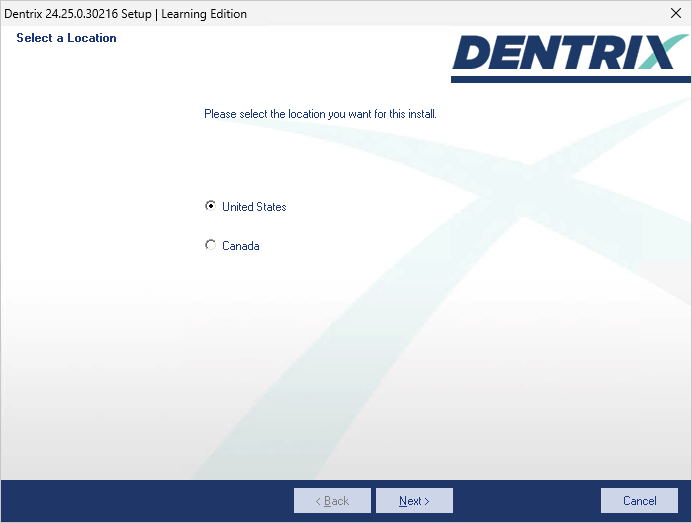
The Select a Location screen appears. Choose your location (United States or Canada) and then click Next.
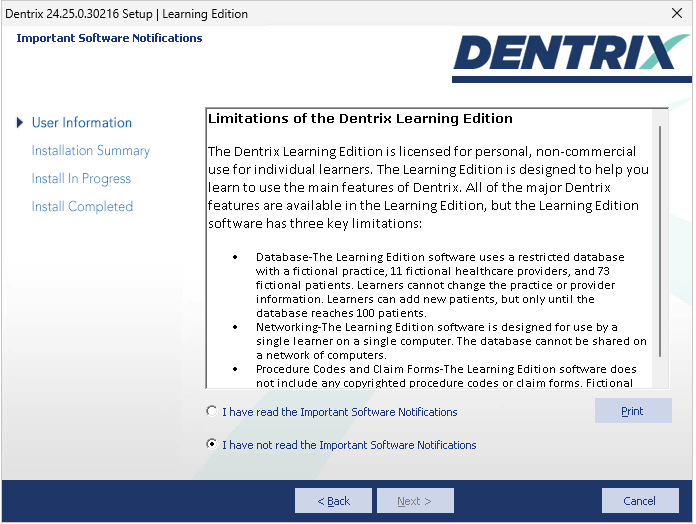
The Important Software Notifications screen appears. Read the notifications, select I have read the Important Software Notifications, and then click Next.
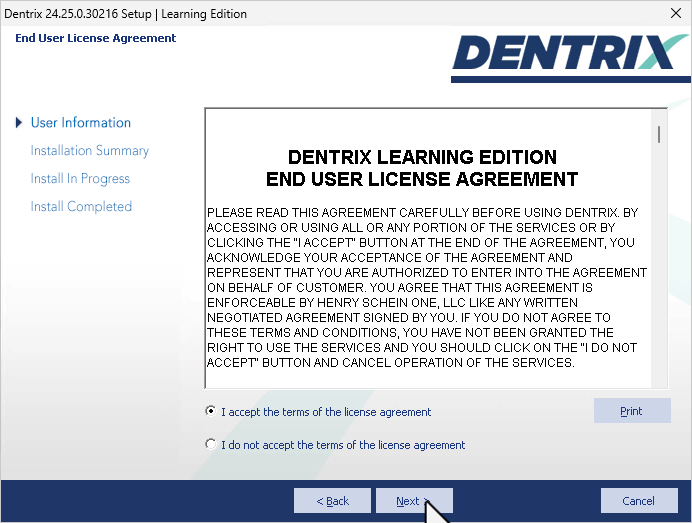
After some initial setup preparation, the End User License Agreement screen appears. Read the agreement, select I accept the terms of the license agreement, and then click Next.
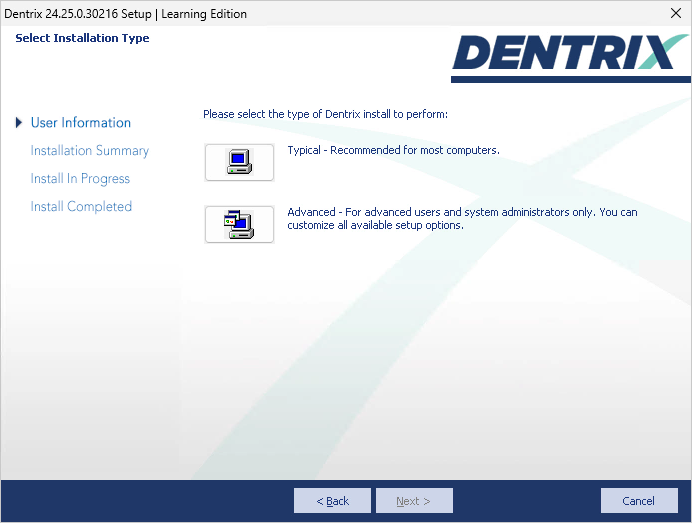
Select Installation Type screen appears. Click Typical as the type of installation you want to perform. Dentrix will install all of the default Dentrix Learning Edition features.
A system requirements check runs. If your system meets the requirements, the installation continues to the next step. If it does not meet the requirements, the System Requirements Notice dialog box displays what your system needs in order to meet the system requirements.
Note: A green check mark indicates that a component meets the requirements. A red “X” indicates that a component does not meet the requirements.
(Optional) If the System Requirements Notice dialog box appears, look at the report and do one of the following:
To discontinue the installation and install the required components (recommended), click No to stop the installation.
To continue the installation without meeting the recommended system requirements, type the phrase “I understand we may experience performance issues” exactly as it appears in the text box below the phrase. Click Yes to continue the installation.
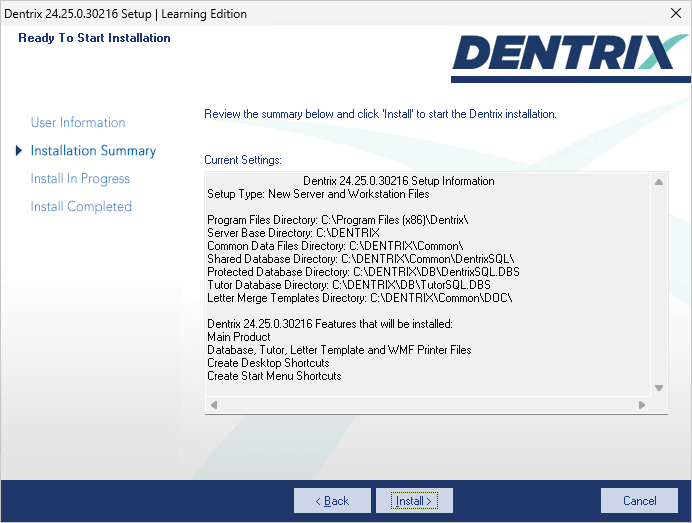
The Ready To Start Installation screen appears. Click Install.
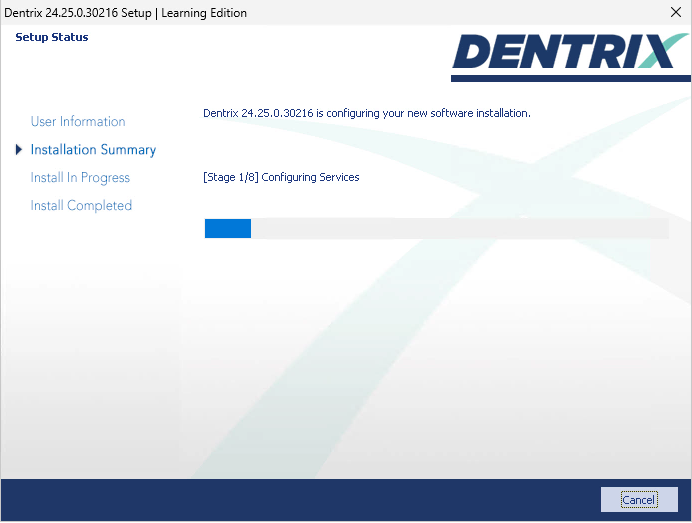
The Setup Status screen appears. Dentrix Learning Edition will install over 8 stages. This window will update to show you which stage is currently installing.
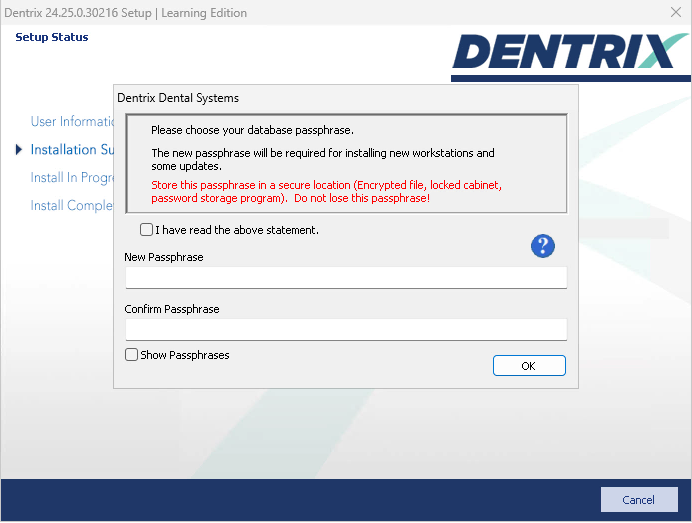
The Passphrase screen appears. A passphrase is a password that you create for the database. Dental offices will enter the passphrase to act as a security measure, preventing unauthorized computers or programs from being able to connect to the database. You will not need to manage your database for Dentrix Learning Edition, but you will need to set a passphrase in order to complete the installation process.
Read the message and select I have read the above statement.
Enter a passphrase that is at least 10 characters long and contains at least one of each of the following:
- a capital letter
- a lower case letter
- a number
- a special character (asterisk, question mark, or other character)
Other components, such as the Letter Merge Add-in screen, may appear. Allow these to install.
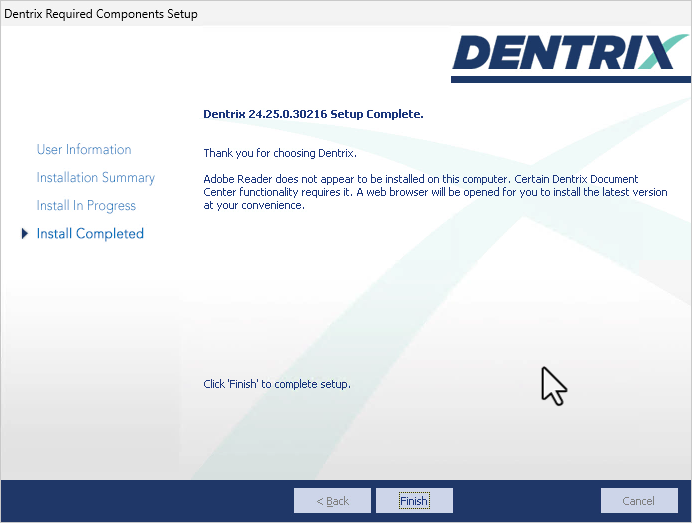
The Setup Complete screen appears. Click Finish.
The Dentrix Server Administration Utility appears.
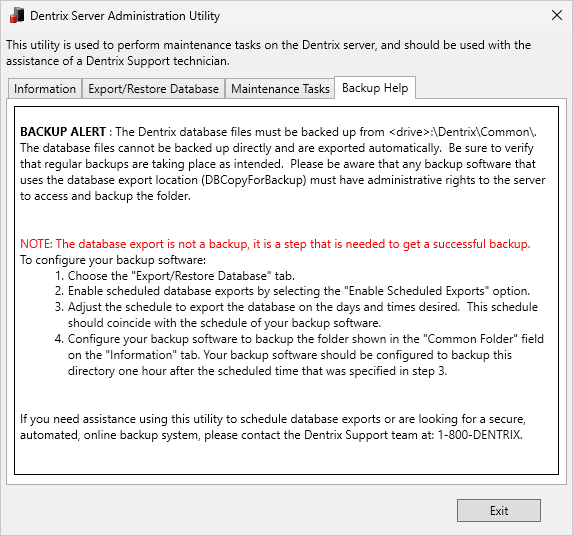
Dental practices use this utility to schedule recurring exports of their Dentrix database to be backed up.
Because you will not be managing real patient data, you will not need to export or backup your database. Select the Export/Restore Database tab, and choose Disable Scheduled Exports. Then click Update Scheduled Status to save the changes. Finally, click Exit to close this utility.
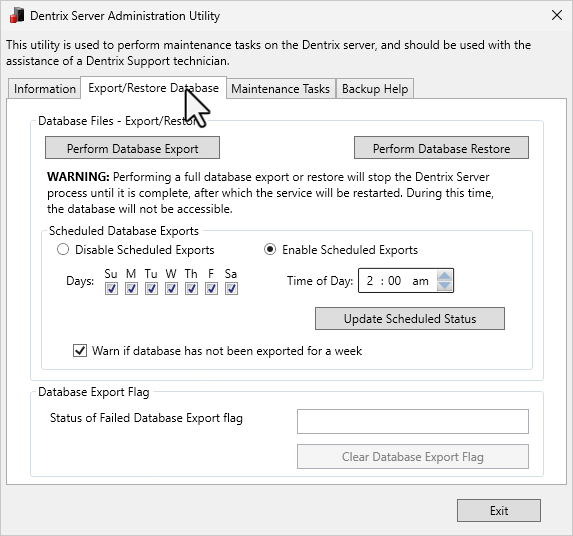
Click Exit without making changes in the utility. This will complete the installation process.
Return to the page at learningedition.dentrix.com. Log in and click Lessons to begin your training.